Alright folks, let’s talk a little bit about putting in one of those horizontal evaporator coils for your air conditioner or heat pump. Now, these coils, they’re something you stick in your AC or heat pump, and let me tell ya, getting it right is what keeps that air cold and comfy during those sweaty summer days.
1. Picking the Right Spot
First thing you gotta do is choose a good spot for that coil. Now, these horizontal coils, they’re not too picky, but you wanna make sure you put ‘em upstream. That means right before the furnace if you got one. And if you’re using it with an air handler, it should go downstream, right where the air gets sucked back in. This way, air flows smooth, right through the coil, and chills down nicely.
2. Direction Matters!
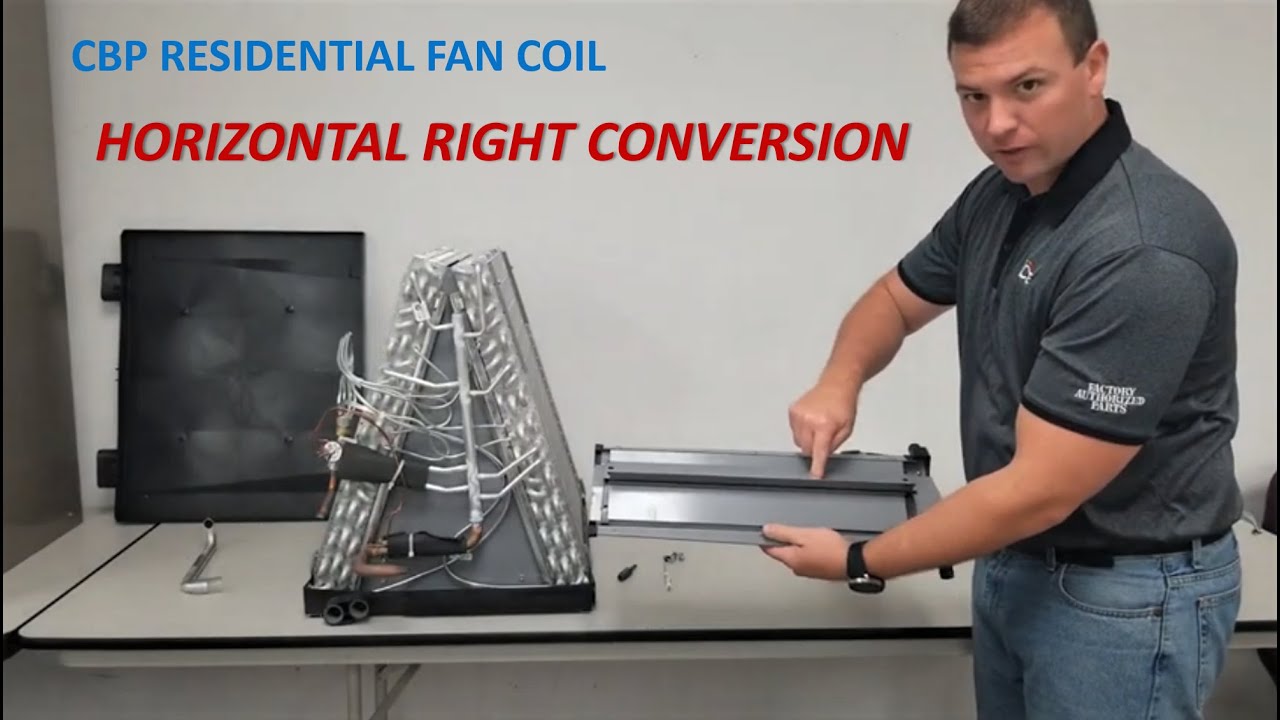
Oh, you might not think it, but the direction that coil faces is real important too. These here horizontal coils are bi-directional – fancy talk for saying you can face them left or right. But don’t go putting ‘em vertical; these fellas need to be flat and level or they just won’t do their job right.
3. Setting Up the Platform
Now, some of you might have your coil going up in the attic, and if that’s the case, make sure you’ve got a good, steady platform. You don’t want any tilting. Once it’s sitting sturdy on that platform, you’re set for hooking up the rest of the connections.
4. Connecting the Refrigerant Lines
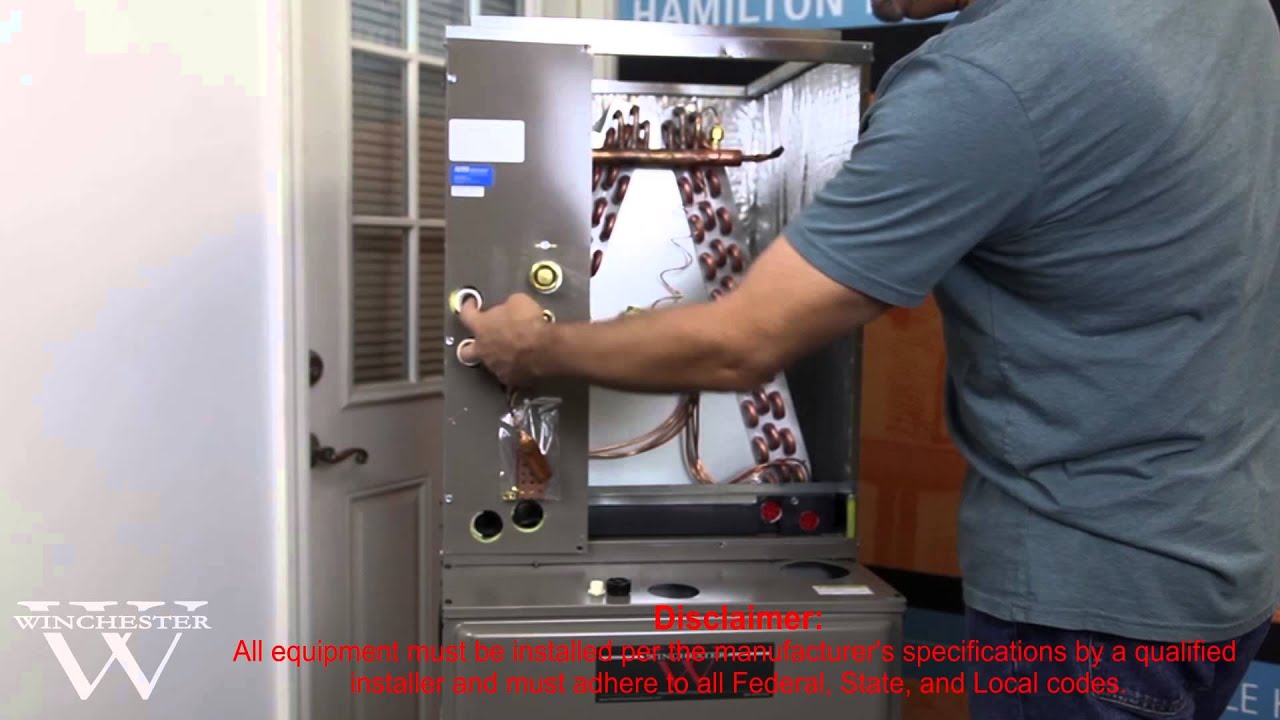
Next up, grab those refrigerant lines. These coils often come with a compression fitting – now that’s a handy little connector that’ll let you hook up a metering device if you need one. Just pop off those plugs (there’s usually rubber plugs on the suction and liquid lines) and connect the refrigerant lines. Make sure you’re not leaving anything loose, or you’ll get leaks that’ll have you sweating in no time.
5. Insulation Check
Horizontal coils come with insulation already on ‘em, which is great because it stays put and doesn’t sag over time. Sagging insulation means you lose efficiency, and that just costs you money in the long run. So, be sure your insulation is tight and right where it needs to be.
6. Final Testing and Sealing
Once you got everything set up and connected, give it a good test run. Check for leaks, listen for any hissing noises – if you hear any, something’s likely not connected right. Seal up any open spots with some metal tape or sealant if you see gaps. And remember, clean up around the area once you’re done to keep everything looking tidy and running smooth.
That’s about it, really. Get those horizontal coils in right, and you’ll be staying cool all summer. Don’t skimp on the small stuff, and your AC will thank you for it!
Tags:[horizontal evaporator coil, installation, air conditioner, heat pump, refrigerant lines, insulation, bi-directional coil]