Hey folks, let me tell ya how to make yourself a good ol' DIY syrup evaporator. Now, this ain't fancy, but if ya got some maple trees nearby and want that sweet syrup, this setup'll get ya started without spending a fortune. I'll walk ya through what ya need, how to put it all together, and the tips I got from trial and error. So get ready, 'cause we’re about to turn that sap into golden syrup right in your own backyard!
Why DIY a Syrup Evaporator?
Now, you might be wonderin' why go through all the trouble of makin' yer own evaporator when ya could just buy some syrup at the store. Well, lemme tell ya, there’s nothin' like the taste of syrup ya made yourself, right from yer own trees. Plus, makin' syrup at home is way cheaper than buyin' the fancy equipment – especially if ya just need a few simple things to get started. And if you’re handy with a bit of metal, wood, and fire, well, it’s worth a try.
What You’ll Need
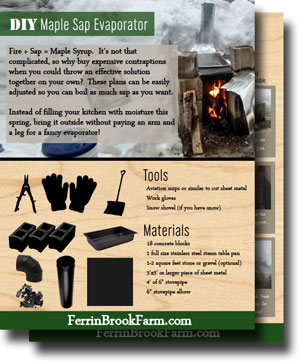
Here’s a list of things that’ll help ya get started:
- Stainless Steel Pan – A big shallow one is best. This is where yer sap's gonna boil.
- Maple Hydrometer – This little thing’ll help ya figure out when yer syrup is done. It’s worth havin’ if you’re serious about gettin' the right sweetness.
- Bricks and Metal Frame – We’re gonna make a little firebox, so these'll hold up the pan and let the fire do its work.
- Wood for Fire – This’ll keep the heat up. Just plain ol' hardwood’ll do.
Step-by-Step Instructions to Make Your DIY Syrup Evaporator
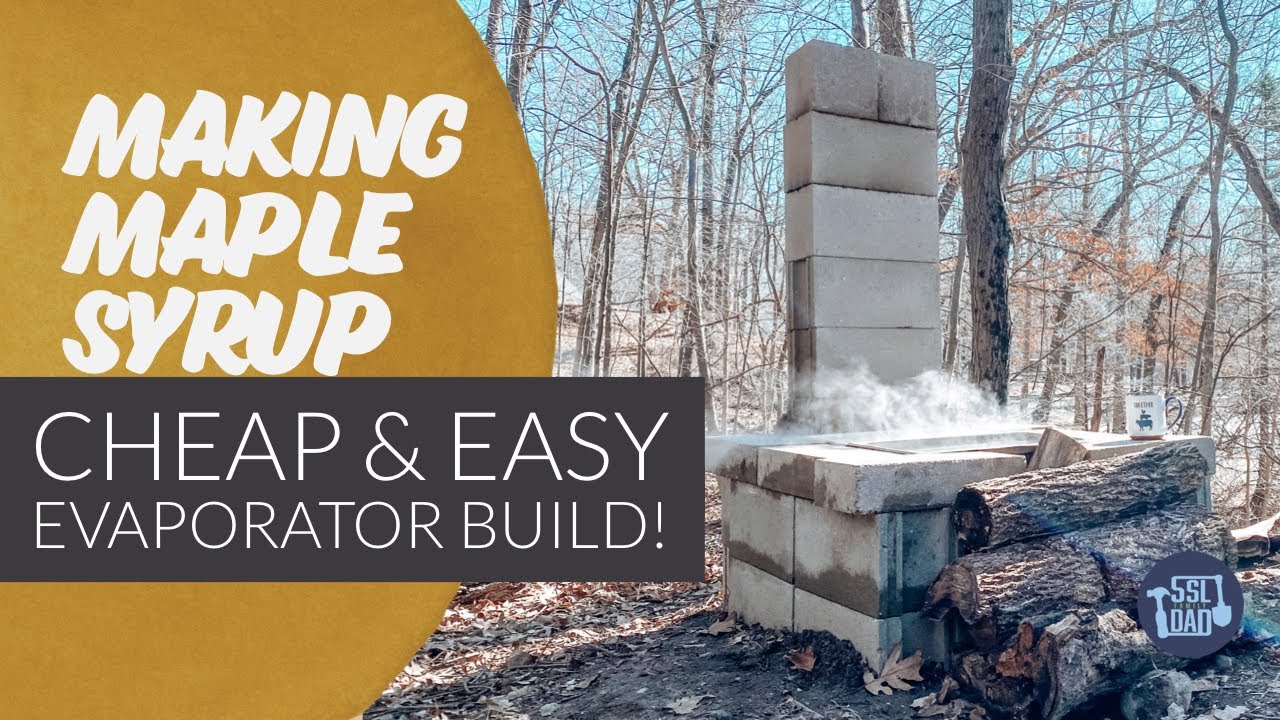
1. Set Up the Firebox
Alright, first off, ya need a firebox – that’s where we’ll be buildin' the fire to heat up yer sap. Ya can use bricks to make a little square box. Stack 'em up in a rectangle, leavin' room in the middle for the wood. Make sure the height is about knee-high, so it’s not too low. Then, put a metal frame or rods across the top – that’s where yer pan’ll sit.
2. Gettin' the Pan Ready
Now, ya need a big, shallow pan. Stainless steel works best – it heats up nice and even. Put this on top of the firebox so it sits tight. The wider the pan, the faster that sap’s gonna boil, ‘cause you got more surface area to let the water evaporate. If ya got an old roasting pan, that might just work fine. Fill it up about halfway with sap – don’t go too high, ‘cause it’ll start to bubble and might spill over.
3. Start the Fire
Alright, now it’s time to get that fire goin’. Use some hardwood like oak or maple if ya got it. Light it up under the pan and keep it steady. We want a nice, constant flame – not too high, not too low. Just enough to keep a gentle boil. As the sap heats up, it’s gonna start evaporatin’ – that’s what we want. Keep addin’ sap little by little as it boils down, so ya don’t burn it or let it get too thick all at once.
4. Boilin' and Evaporatin'
Now, here’s the part where patience comes in. Yer gonna be here a while, maybe even hours dependin' on how much sap ya got. Keep stirrin’ every now and then so it doesn’t stick. The goal is to boil off all the water till yer left with the thick syrup. Ya’ll know it’s workin’ ‘cause it’ll start smellin' sweet after a bit.
5. Finishing Off the Syrup
When it’s gettin' close to done, ya might wanna transfer it to a smaller pot. This is where that maple hydrometer comes in. Ya can test the syrup – if it’s just right, it’ll float to the right mark on the hydrometer. If not, just keep it simmerin' a little more till ya hit that perfect spot.
Tips for DIY Success
- Keep Watch: Don’t leave it alone too long. This stuff can go from syrup to burnt real fast if ya ain’t watchin’.
- Wood Choice: Different woods burn at different speeds. Oak burns longer, so ya won’t have to keep addin' wood as often.
- Testing: If ya don’t got a hydrometer, you can test by droppin' a little on a plate – if it cools to a syrupy thickness, yer good to go.
Cleanup and Storage
Once ya got yer syrup done, let it cool down. Don’t put it right in the fridge – it’ll get too thick. Store it in glass jars or bottles and put it in a cool, dry place. If you got a lot, ya can freeze it too. Homemade syrup doesn’t have the preservatives the store-bought stuff has, so it’s best to keep it sealed up tight and use it within a few months.
Wrapping It Up
And there ya have it – a homemade syrup evaporator right from your own backyard! This DIY approach lets ya get that rich, golden syrup without spendin' a lot, just takin' a bit of time and patience. There’s nothin' better than pourin' that syrup over pancakes or waffles, knowin' ya made it all yourself. Happy syrup makin’, folks!
Tags:[DIY Syrup Evaporator, Maple Syrup Making, Homemade Syrup, Maple Sap Boiling, Backyard Evaporator]